Try the Public Demo Wallet
Introduction#
The Public Demo Wallet (demo wallet) allows you to try an online, public demo version of the Diem Reference Wallet running on the Diem testnet. It demonstrates common use cases for wallets, including:
- Basic risk management and AML compliance flows.
- Exchanging fiat money for Diem Coins and vice versa.
- Sending and receiving Diem Coins to and from another Diem wallet address.
- Converting between the different Diem Coins.
- Viewing transaction history.
* This demo uses simulated user information.
* This demo uses simulated fiat currency, Diem Coins, and other funds. The Public Demo Wallet does not use any real money.
* This demo implementation is simplified, avoiding complexities of real-world, production-grade financial software.
Try the Public Demo Wallet#
Click here for a full page version of this demo
User flows#
The image below details the different user flows for the Public Demo Wallet.

Register and sign up#
New users who want to use the Public Demo Wallet go through a simulated registration process. Users should enter a dummy username and password at signup and choose from a dummy identity during the sign up process.
The sign-up process simulates collecting information for proper identity verification and account security.
To create your Public Demo Wallet account and select a simulated user for the demo:
- On the log in page, click 'Sign up'.
- Type a dummy username and password. Do not use usernames or passwords that you use on any other site. This is your account for the demo wallet. With this, you can return later to the same setup.
- Click to agree to the terms and conditions. The link to the document is disabled and the button is just an example. Then, click 'Sign up'.
- On the rest of the sign-up pages:
- Verify Your Identity: Choose any dummy identity and click Continue.
- Verify Your Identity again and Add Your Address: Leave as is or select any dummy identity and click 'Continue'.
- Add Your Photo ID: Either click Skip or add a dummy image and click 'Continue'. The Public Demo Wallet always accepts the demo identification document, but it does not analyze or store it.
- Choose Default Currency: Leave the default or select any currency and click 'Continue'. You can change this later with the settings gear icon.
The demo wallet briefly displays a Verification Pending page to show the expected behavior of a hypothetical wallet. You are now logged in and your Home page displays.
To use most features of the Send, Request, and Transfer buttons, you must first:
- Set a funding source.
- Deposit funds to your account.
Real-world user verification and risk management are beyond the scope of the Diem Reference Wallet and contain many opportunities for further development.
Read more about the user verification in the Risk section.
Log in and log out#
To log in, click either:
- 'Sign up' to register as a new user if:
- This is the first time you are using the demo wallet.
- You want to create another account and view the sign-up process again.
- Log in if you have already signed up. This asks for your username and password and displays your Home page.
To log out:
- Click the settings gear icon on the top right of the demo wallet’s screen and scroll down to the 'Logout' button.
- Click the 'Logout' button to logout.
Manage your password#
To change the password for your account:
- On the 'Log in' page, click 'Forgot Password'.
- On the 'Forgot Password' page, type your username and click 'Continue'. The demo displays a sample message about sending you an email. Instead of sending an email, the demo then goes directly to the 'Create a new password' page.
- Type and confirm a new password and click 'Submit'.
- The 'Log in' page is displayed again.
View your home page#
Once you finish logging in or signing up, you will be redirected to the home page. To view your home page at other times, click 'Home' in the top menu bar or click 'X' to cancel your current transaction.
Here are some of the things you can see and do using the home page:
- View your current demo wallet balance for each Diem Coin currency.
- Use the settings gear icon in the title bar to select funding sources, change settings, or log out.
- A list of your most recent transactions.
- Buttons to send or request funds and a button for different types of 'Transfer' requests, where you can add or withdraw funds, and convert your Diem Coin currency.

Manage payment methods and user settings#
You need at least one payment method or funding source for the rest of the demo.
- Click the settings gear icon on the top right of the screen to:
- Add payment methods. Select one or more of the available simulated credit cards or bank accounts.
- Choose your preferred currency and preferred language. The currency you choose affects the base currency used in the currency exchange operations throughout the wallet.
- View your username.
- Click 'Save Settings'.
 Figure 2.1 Public Demo Wallet settings page
You can also add or manage your simulated payment methods when you try to add fake Diem Coins to your wallet.
The payment methods are for demonstration purposes only. The supplied information is not validated, and no real transactions are made using the configured credit cards and bank accounts. Users of the Public Demo Wallet will not be permitted to enter real credit card or bank account information.

Deposit to and withdraw from your wallet#
You can simulate:
- The purchase of fake Diem Coins using your dummy user’s credit card or bank account wire transfer. This deposits the purchased amount to your demo wallet.
- The sale of fake Diem Coins by withdrawing from your demo wallet and applying it to your dummy user’s credit card or bank account.
For safety and security, the Public Demo Wallet does not support the entry of actual credit card or bank account details.
To purchase simulated Diem Coins and deposit them to your Public Demo Wallet:
- From your Home page, click 'Transfer', then 'Add'.
- In the 'Add Money' dialog:
- Select any funding source to use for purchasing simulated Diem Coins. If you don't have a funding source available, click 'Manage payment methods' from the drop-down and add one of the existing simulated payment methods.
- Choose a balance to deposit purchased funds to. The demo wallet keeps funds of different currencies in different pockets.
- Type any amount in either 'Adding' or 'Currently equal to'. The equivalents are calculated automatically. Optionally, select a different currency to show a different equivalence.
- To add the amount to your wallet, click 'Review', 'Confirm', and 'Done'.
Your Home page shows your current demo wallet balance. Now you can convert, withdraw, or send funds from your Home page.
To withdraw (sell) simulated Diem Coins after you have deposited an amount:
- From your Home page, click 'Transfer', then 'Withdraw'.
- Select any funding source where you can send these simulated funds.
- Choose a balance to withdraw funds from.
- Type any amount in either 'Amount' to withdraw or 'Currently equal to'. The equivalents are calculated automatically. Optionally, select a different currency to show a different equivalence.
- To withdraw the amount, click 'Review', 'Confirm', and 'Done'.
Your Home page shows your updated demo wallet balance.
Convert funds to a different currency#
The Public Demo Wallet shows an example of a conversion page that you could use for your wallet. For the demo, the actual conversion is disabled.
In a production application, this function may be subject to regulatory and licensing obligations for the service providers involved. See Prospective VASPs to learn more.
To convert funds:
- From your Home page, click 'Transfer', then 'Convert'.
- Select currencies to convert from and to and an amount to convert. The Public Demo Wallet currently supports only one currency.
- Click 'Review' to see how the demo incorporates error messages. The 'Review' button does no conversion for this demo.
View your transaction history#
Your Home page displays your latest transactions.
To see all your transactions:
- Click 'See all' under the displayed transactions.
- On the 'All Transactions' page, use the drop-down menus to filter which transactions you see and in what order.
- Click 'Home' to exit the 'All Transactions' page.
Transactions may be internal (i.e., off-chain), within the wallet’s network (e.g., Diem Coins transfer between customers of the same wallet service), or external (i.e., on-chain) on the Diem Blockchain (e.g., Diem transfer to some external Diem address).
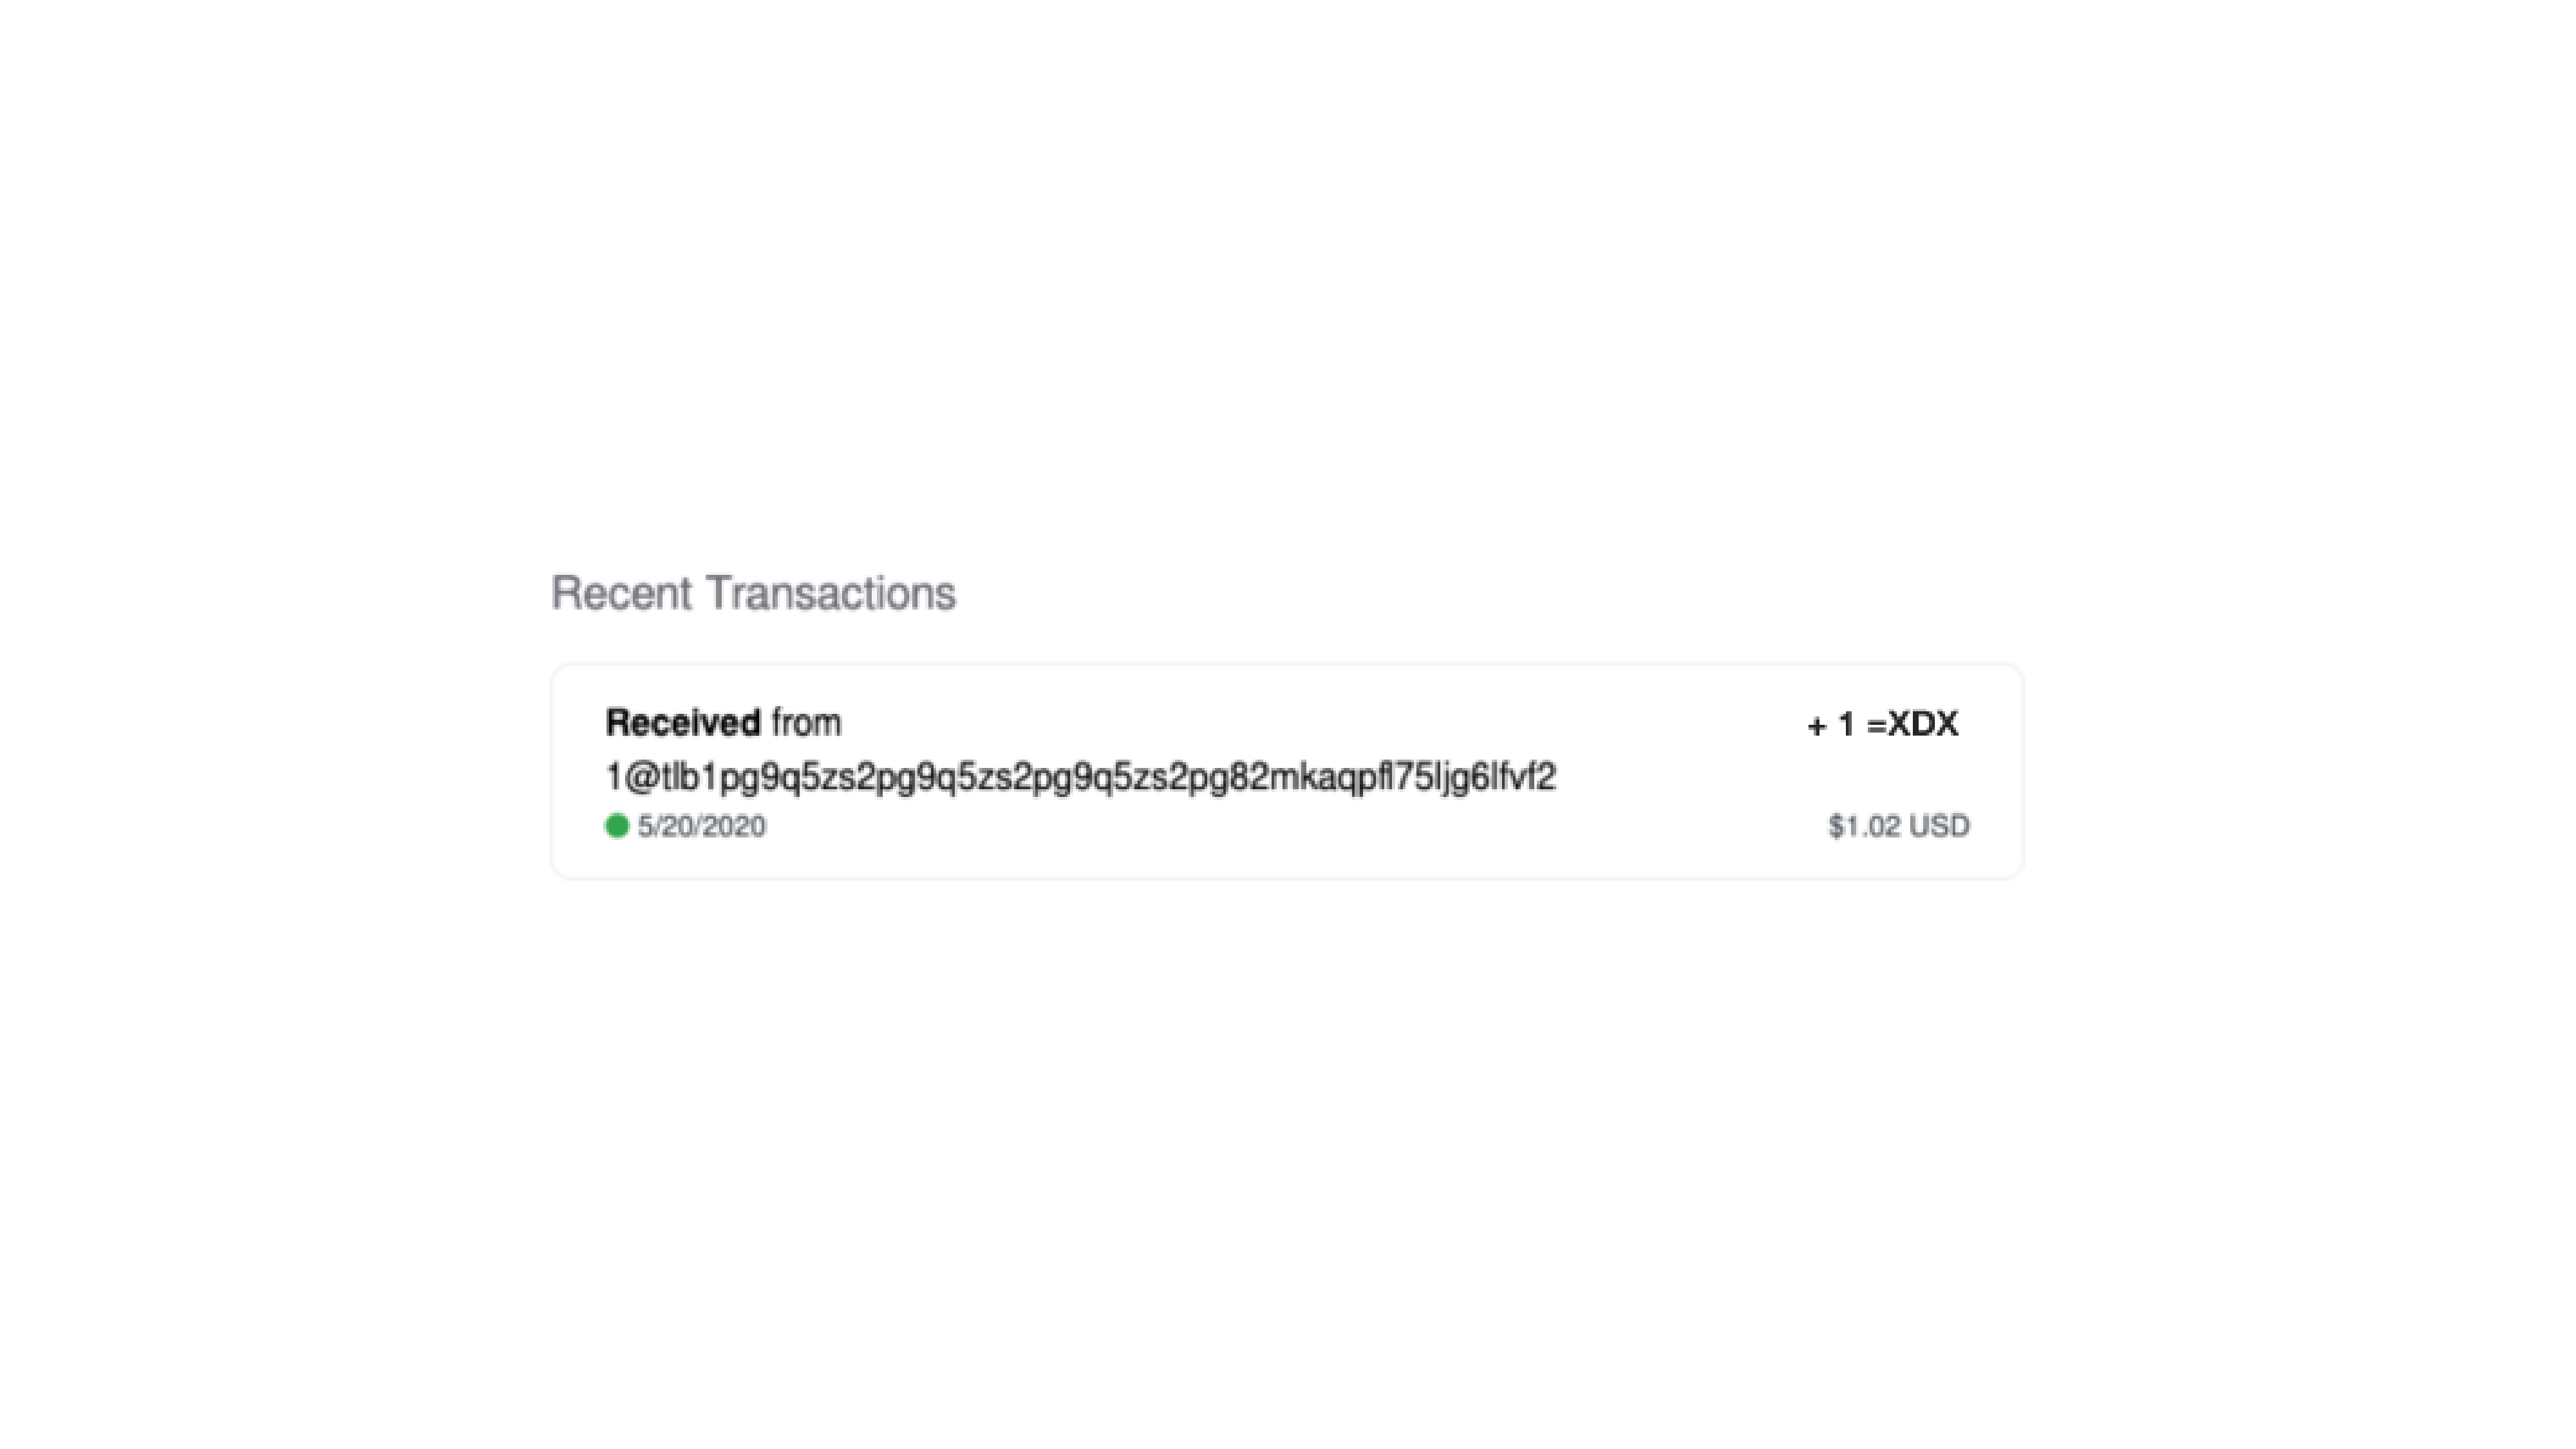
Each transaction consists of:
- Direction (sent or received)
- Address
- Amount of Diem Coins
- Current fiat value in default fiat currency, as configured in the wallet settings
- Transaction execution date
Check transaction details#
Clicking a transaction in the transactions list will open a window with transaction details.
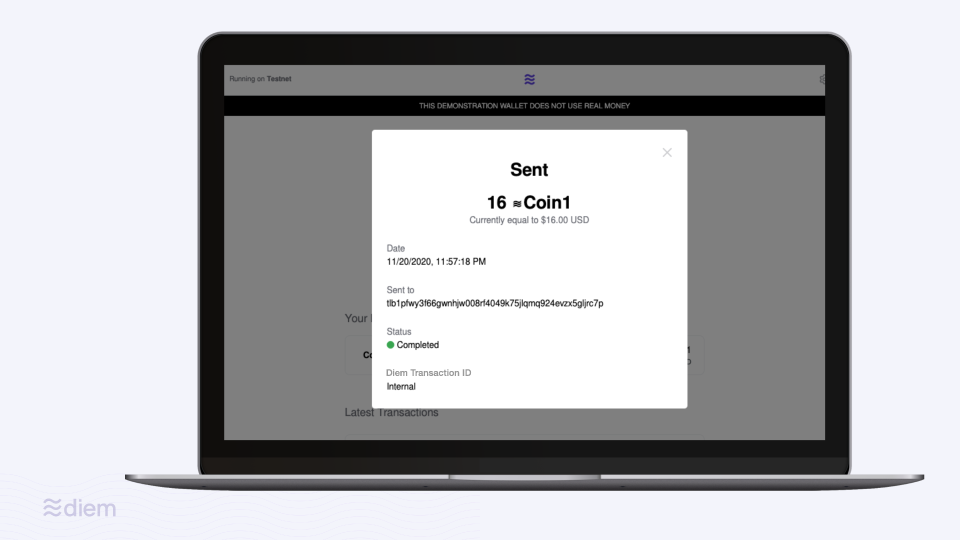
Each transaction consists of:
- Direction (sent or received)
- Amount of Diem Coins
- Current fiat value in default fiat currency, as configured in the wallet settings
- Transaction execution date and time
- Address
- Diem transaction ID – Diem Blockchain transaction’s ledger version number with link to an external Diem Blockchain explorer, if applicable. If not applicable, as in the cases of internal transactions, the field will be marked as unavailable.
Request and send funds#
To send or request simulated funds in the demo wallet:
- Create two accounts using 'Sign up'. Remember the usernames and passwords. If you already have two or more accounts, you can use them instead.
- In the second account, deposit funds if it doesn’t already have some, then log out.
- Log in to the first account.
- Click Request, select a currency, and specify an amount.
- Select and copy the wallet address. The 'Copy Address' button is an example and is disabled in the demo. Then, log out.
- Log in to the second account.
- Click 'Send', choose a currency, type an amount, and paste the other account’s wallet address.
- Click 'Review', then 'Send', then 'Done'.
Your Home page shows the Send transaction and your updated balance. Log out and log in to the first account to view its Total Balance and Recent Transactions.